Your attic is the single most important thermal barrier in your Calgary home — and most homeowners have no idea what condition it is in. While you can see your furnace, feel your windows, and touch your walls, the insulation above your ceiling is out of sight and almost always out of mind. Yet in Climate Zone 7A, where temperatures drop below -30°C for days at a time, a poorly performing attic can be costing you hundreds of dollars a month and creating the conditions for moisture damage and mold — right now, without any visible warning.
The good news is that a basic attic inspection is something most homeowners can do safely in under an hour. You do not need specialized equipment. You do not need to crawl through the whole space. In many cases you can assess the most critical information from the hatch opening alone. This guide walks you through exactly what to look for, how to measure it, and when what you find warrants a call to a professional.
Before You Go Up: Safety First
An attic is not a particularly dangerous space if you prepare properly, but there are real hazards that deserve respect — especially in older Calgary homes. Taking five minutes to prepare before you open the hatch can prevent a serious accident.
Tell someone you are going up. Calgary attics in summer can reach 60°C or more; heat exhaustion is a real risk if you spend more than a few minutes inside during warm weather. Open the hatch for 10–15 minutes to let the space ventilate before entering. In winter, the attic will be cold, so dress accordingly. Either way, let someone in the home know you are there.
Minimum PPE for any attic entry:
- Respirator: An N95 at minimum; a P100 half-face respirator is better. Fiberglass releases glass microfibers that irritate the respiratory tract; cellulose releases paper dust; older attics may contain animal dander and droppings.
- Eye protection: Sealed safety goggles — not vented — to keep fiberglass particles out.
- Gloves: Nitrile or rubber-palmed work gloves. Direct contact with fiberglass causes skin irritation.
- Long sleeves and pants: Cover all exposed skin.
- Headlamp: Hands-free lighting is essential. A handheld flashlight leaves you with only one hand to balance.
The most important structural rule: Never step on insulation or on the drywall between joists. Standard ceiling drywall is 12.7 mm (½ inch) thick and will not support your body weight. Step only on the top edge of ceiling joists. If the insulation level is above the joists and you cannot see where to step, do not enter the space — take measurements from the hatch opening using a tape measure extended on a stick. If you need to move through the attic, lay a sheet of plywood across the joists first.
Electrical hazard check before you enter: If your home has knob-and-tube wiring — the older system with ceramic knobs and cloth-wrapped wires strung between open ceramic tubes — do not disturb the insulation and do not add any new insulation before consulting a licensed electrician. Alberta’s electrical code prohibits covering knob-and-tube wiring with insulation; the wiring relies on open-air cooling, and insulation can create a fire hazard. If you see small round ceramic insulators and old cloth-wrapped wire, stop your inspection and call a pro.
Step 1: Measure the Insulation Depth
The single most important number you can get from your attic inspection is the current insulation depth. Everything else follows from this. The National Building Code – Alberta Edition mandates a minimum of R-60 (RSI 10.43) for ceilings below attics in Calgary’s Climate Zone 7A. This is one of the most demanding requirements in North America — and it is the baseline, not the ideal. Many Calgary homes built before the 1990s have only R-12 to R-20, and some older homes have even less.
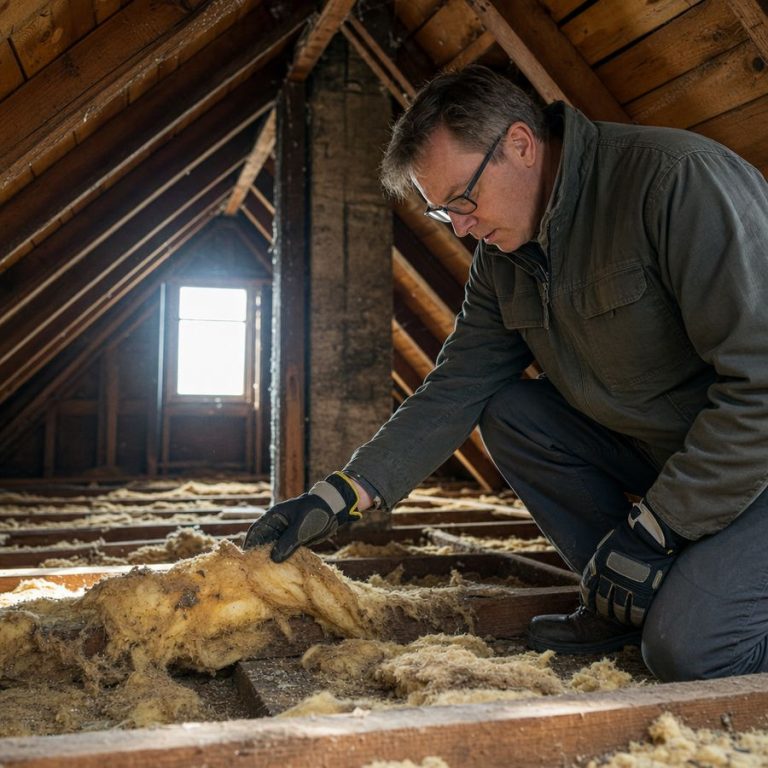
To measure: extend a tape measure or a ruler straight down through the insulation to the top of the ceiling joists. Do not measure to the drywall below — the joist is your reference point. Take readings in at least four locations: near the hatch, in the centre of the attic, and in two opposite corners near the eaves. Coverage is almost never perfectly uniform, and a single reading at the hatch gives a misleading picture of the whole attic.
Once you have your depth measurements, use this reference table — drawn from Natural Resources Canada’s “Keeping the Heat In” material R-value tables — to estimate what R-value your existing insulation is delivering:
| Insulation Type | R-value per inch | Depth needed for R-60 (Alberta code) |
|---|---|---|
| Fiberglass batts (stacked layers) | ~R-3.2 | ~19 inches |
| Blown fiberglass (loose-fill) | ~R-2.9 | ~20–22 inches |
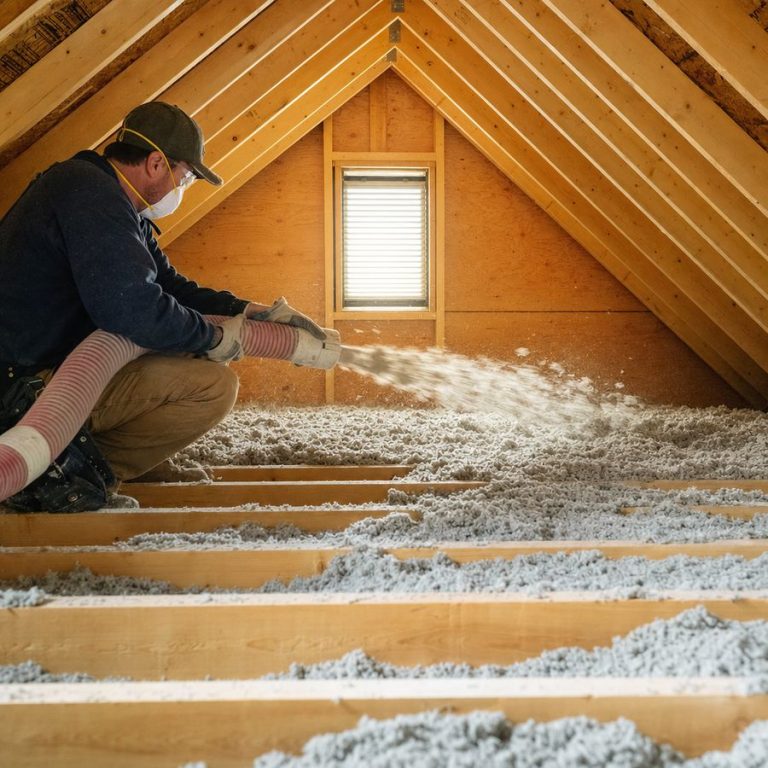
| Blown cellulose (settled depth) | ~R-3.6 | ~16–17 inches |
Quick reality check: If your Calgary attic has standard 9.5-inch-deep ceiling joists (2×10 framing) and the insulation is level with the top of the joists, you have at most R-27 to R-30 — less than half of what current code requires. Insulation must extend well above the joists to approach R-60. If you can see the tops of the joists clearly, your attic is significantly under-insulated. For more detail on why R-value matters in Calgary’s specific climate, see our complete guide to attic R-values.
Note on cellulose settling: blown-in cellulose compresses approximately 15–20% over its lifetime. An attic insulated to R-49 depth years ago may be delivering closer to R-38 or R-40 today. If your home has older cellulose and the contractor’s installation certificate shows a higher original R-value than the depth you are measuring now suggests, settling is the likely explanation.
Step 2: Check Coverage Uniformity
Depth at the centre of the attic is one data point. Coverage across the whole space is what actually matters for thermal performance. Scan the entire attic floor systematically with your headlamp, looking for specific failure patterns that are common in Calgary homes.
Bare patches: Any area where the ceiling drywall or joists are directly exposed means that section of your ceiling has essentially zero insulation. Even a small bare patch is a significant thermal bridge and a potential condensation point in winter. Bare patches often appear at the perimeter near the eaves, where blown-in insulation settled away from the exterior wall plate over time, or near the hatch where contractors or service technicians moved material aside.
Compressed batts: Fiberglass batts lose R-value proportionally to compression. A batt rated R-30 at its full 9.5-inch depth delivers roughly R-13 if it has been crushed to 4 inches — less than half the rated value. Look for flattened sections of batt insulation under old storage boxes, under HVAC equipment, or along walking paths service technicians may have used. Compressed insulation looks noticeably thinner and denser than surrounding material.
“Dirty” insulation as an air-leak indicator: This is one of the most useful diagnostic signals and one of the most overlooked. Air flowing through ceiling gaps picks up household dust. Insulation directly above an air-leak pathway gradually turns grey or black, even while surrounding material remains pink or white. A dark-streaked patch of insulation above a pot light, along a top plate, or near a plumbing penetration is a reliable visual indicator of an air bypass that needs sealing. You are essentially looking at a map of where your warm indoor air is escaping.
Step 3: Inspect for Moisture, Frost, and Mold
In Calgary’s climate, moisture damage is the most serious problem an attic inspection can reveal — and it is directly linked to both insulation and air sealing performance. Natural Resources Canada’s attic guide sets a threshold: frost accumulation of 10 mm (about 3/8 inch) or more on the underside of the roof sheathing is a warning sign of a ventilation or air-sealing problem that requires investigation. Less than that suggests normal moisture levels; more indicates that significant amounts of warm, humid indoor air are reaching the cold sheathing surface.
In winter or immediately after a thaw, look for frost crystals or water staining on the underside of the roof deck boards or OSB sheathing, and on the rafters and trusses. Dark staining or blackening on wood members indicates long-term repeated wetting — this is where mold risk is highest. Look for fuzzy green, black, or white growth on any wood surface; a musty, earthy smell when you open the hatch is also a strong indicator of active mold even if you cannot see it from the hatch opening.
In summer, look for water-stained or darkened insulation in localized spots. Clumped or matted cellulose below a roof valley, near a chimney penetration, or under a skylight indicates water has entered from above. This is a roofing issue, not just an insulation issue — both need attention. If you find wet or damp insulation, do not add new insulation on top of it. Sealing moisture under new material accelerates mold growth. Wet insulation needs professional removal and replacement before any upgrade work proceeds.
Step 4: Identify and Assess Attic Bypasses
Bypasses are gaps in the ceiling plane that allow warm, humid indoor air to move into the attic under stack effect pressure. In Calgary’s winter climate, each bypass simultaneously wastes heat and deposits moisture on cold structural surfaces. Identifying and sealing bypasses is often more impactful than adding insulation depth, and it is the step that most homeowners miss entirely. Here is what to look for at each common bypass location:
Pot lights / recessed lighting: Each recessed fixture is essentially a cylinder punched through your ceiling. Unless it is explicitly rated “IC” (Insulation Contact), warm air flows continuously around the fixture housing into the attic. Look for discoloured or grey insulation around any pot light — that colour change maps the airflow pathway. The fix is an airtight insulated cover box installed from the attic side; this is a job for a professional insulation contractor.
Attic hatch: Open your attic hatch and feel the perimeter for a weatherstripping seal. It should compress firmly when the hatch is closed. The hatch lid itself is typically uninsulated lumber — an R-0 opening in an otherwise insulated ceiling. Minimum recommended attic-side insulation for the hatch cover in Calgary is R-20; R-40 is better given the extreme winter temperature differential.
Plumbing vent stacks: Where the ABS or cast-iron plumbing vent pipe penetrates the ceiling, there is almost always a gap. Shine your headlamp around the pipe at ceiling level and look for daylight or feel for airflow. These gaps are sealed with acoustical sealant or fire-rated spray foam.
Chimney surrounds: The gap between a masonry chimney and the wood framing is both a major air bypass and a fire hazard if improperly handled. Building codes require a non-combustible barrier and specific clearances — 50 mm (2 inches) to masonry, 25 mm (1 inch) to single-wall metal flue pipes. These gaps must be sealed with sheet metal and high-temperature caulk, never ordinary spray foam, which is combustible.
Bathroom exhaust fans: Confirm that any bathroom or kitchen exhaust fan is ducted all the way to a gable vent or roof cap — not just dumping warm, humid air into the attic. An unducted or disconnected exhaust fan is one of the leading causes of mold on Calgary attic sheathing. You should be able to trace the duct from the fan housing to a termination point at the exterior.
Step 5: Check for Pest Damage
Pest damage in attic insulation is more common in Calgary than many homeowners expect. Mice are particularly active in autumn as temperatures drop. Look for rice-grain-sized dark droppings, tunnels pressed through the insulation, shredded material used for nesting, and gnawed wiring or wood. Any active infestation means the contaminated insulation must be professionally removed before new insulation is added — droppings and urine saturate insulation and create both odour and health concerns that new material installed on top cannot fix.
Squirrels leave larger droppings and typically chew entry holes through soffit or fascia boards. Look for daylight at the eaves and check soffit vents for damage. Birds leave feathers and round nests near gable vents. Bats leave small crumbly droppings near ridge or gable entry points. Any of these signs warrant a call to both a pest management company and a residential insulation specialist to assess removal and replacement scope.
When to Call a Professional
A basic visual inspection from the hatch — measuring depth, scanning for visible moisture or pest evidence, checking the hatch seal — is well within reach for most Calgary homeowners and gives you the information you need for an informed conversation with a contractor. However, certain conditions require professional assessment before any work proceeds:
- Knob-and-tube wiring: Alberta’s electrical code prohibits adding insulation over it. Requires a licensed electrician to assess and typically replace.
- Vermiculite insulation: Small grey-brown pebbles rather than fluffy material may indicate pre-1990 vermiculite, which can contain asbestos. Do not disturb. Requires certified lab testing and licensed abatement if confirmed.
- Active mold growth on sheathing: Requires containment and remediation protocol — disturbing mold without containment spreads spores throughout the HVAC system.
- Unknown moisture source: If insulation is wet but no obvious roof leak is visible, you need a roofer and insulation contractor working together to find the entry point before new insulation is installed.
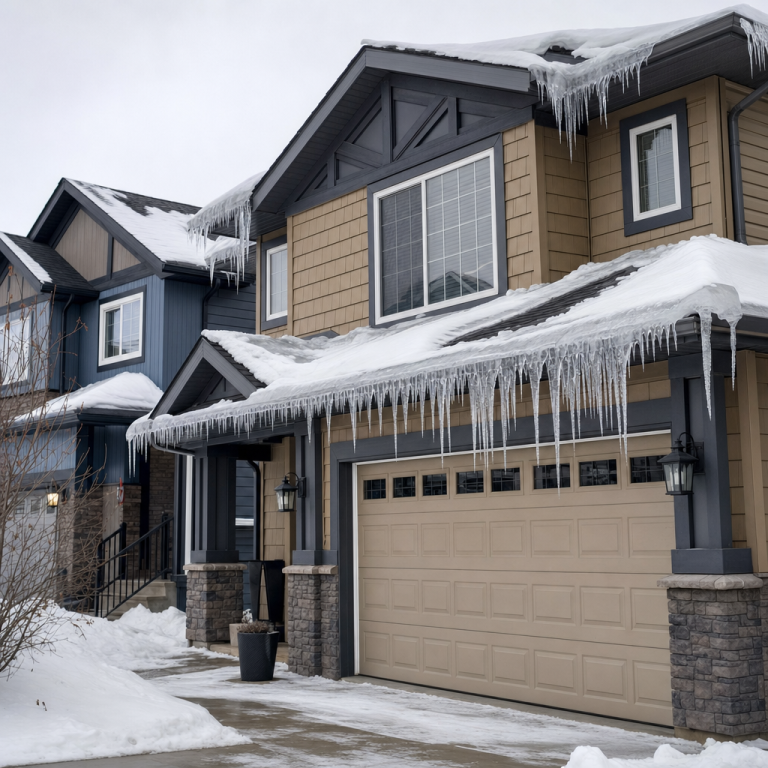
- Ice dams forming on eaves every winter: Ice dams indicate a combination of air sealing failures, insulation deficiency, and ventilation problems. Root-cause diagnosis requires a thermal imaging assessment.
- Energy bills increasing year over year: A blower door test identifies the hidden bypasses that a visual inspection cannot find, and qualifies your home for EnerGuide rebate programs.
Understanding how your attic compares to current standards — and knowing how long attic insulation lasts in Calgary’s climate — is the starting point for a smart upgrade decision. The City of Calgary’s climate-ready insulation guidance also encourages homeowners to exceed the R-60 code minimum where practical. A professional assessment gives you a precise picture of where your attic stands and what an upgrade will deliver.
How Eco Attic Solutions Helps
Whether your inspection turns up a simple depth deficit or a more complex moisture or bypass situation, Eco Attic Solutions has the expertise and equipment to address it properly. We have completed attic insulation projects for more than 780 Calgary homeowners, and we understand the specific failure modes that Calgary’s Zone 7A climate creates — from Chinook freeze-thaw cycles to the severe stack effect that drives air through every unsealed gap during our coldest weeks.
If you have done your inspection and want a professional assessment to confirm what you found — or to go deeper with thermal imaging and a blower door test — we offer free, no-obligation quotes. We use eco-friendly insulation materials, back every job with our 12-Month Workmanship Guarantee, and offer flexible financing with up to 6 months deferred payment. There is no pressure and no obligation — just a clear picture of where your attic stands and what your options are.
Call (403) 990-9033 or request your free quote online. An attic that meets Calgary’s R-60 standard and is properly air-sealed is one of the best investments you can make in your home’s comfort, energy efficiency, and long-term structural health — and now you know exactly what to look for to get there.